Aquascaping Basics: The Layout Rules the Pros Use
The craft of arranging a planted tank has a name in Japan: reiauto (レイアウト, "layout"), and the wider art of it is what the world now calls aquascaping. That is not a coincidence. The whole hobby of treating an aquarium as a living landscape grew up here, out of the Nature Aquarium movement, and its vocabulary is still Japanese. So the rules below are not our invention. They are the working grammar Japanese aquarists have refined for decades, and the same grammar we use when we plant a tank for a client.
Before you read on, one fork in the road. If you just want a low-maintenance tank with some plants in it and you are happy with "good enough," you do not need this article. This guide is for the other kind of keeper: the one who has stood in a good aquarium shop, looked at a display tank, and thought I want mine to look like that. Getting there is not about talent. It is about following a few structural rules, and this is the set our aquarists actually use.
- Aquascaping starts with a composition (kouzu, 構図). There are three classic ones: triangle, convex, and concave.
- The concave layout is the most forgiving and the one we recommend if you are unsure — high plants on both ends, a valley in the middle.
- Balance the two sides at roughly 6:4, the golden ratio (1.618:1). Perfect symmetry looks artificial; a slight imbalance looks natural.
- Keep color under control: build in green, and hold red plants to about 30% of the planting at most.
- Two pro moves matter more than plant choice: slope the substrate up toward the back for depth, and hide the equipment so heaters and pipes do not break the illusion.
What "Layout" Actually Means
Strip away the mystique and aquascaping layout means one thing: the composition that makes a tank read as a designed scene rather than a box of plants. In Japanese aquarium tradition, almost everything is built on three foundational compositions, and once you can see them, you start noticing them in every display tank you admire.
The three are the triangle (sankaku-kouzu, 三角構図), the convex (totsugata-kouzu, 凸型構図), and the concave (ou-kouzu, 凹構図). The names describe the silhouette the planting makes when you look at the tank head-on. Get the composition right first and the rest of the work has a skeleton to hang on. Get it wrong and no amount of expensive plants will save the scene.
| Composition | Silhouette | Difficulty | Best for |
|---|---|---|---|
| Triangle | Tall on one side, sloping down to the other | Easiest | Beginners, first planted tank |
| Convex | Tall in the center, low at both edges | Hardest | Experienced keepers who trim often |
| Concave | Tall at both ends, a valley in the middle | Moderate | Most tanks; our default recommendation |
The Triangle Composition

In a triangle layout you arrange plants, driftwood, and stone so the whole planting reads as a triangle: high on one side, sloping down toward the other. Left-leaning or right-leaning both count, as long as the triangular balance holds. Of the three, this is the simplest to build, which makes it the natural starting point for anyone planting their first serious tank.
The trick is contrast between high and low. Push the tall side right up to the water surface, and let the low side drop down almost to the substrate. Use tall background plants for the high mass: in the US hobby these are stems like amazon sword, green rotala (Rotala rotundifolia), and the Hygrophila group. For the low, sloping side, reach for foreground carpeting plants such as pearl grass, pygmy chain sword (Sagittaria subulata), or Glossostigma, which knit into dense low mats. Set a piece of driftwood as the anchor, then plant around it to fill the gaps and build the slope.
The Convex Composition
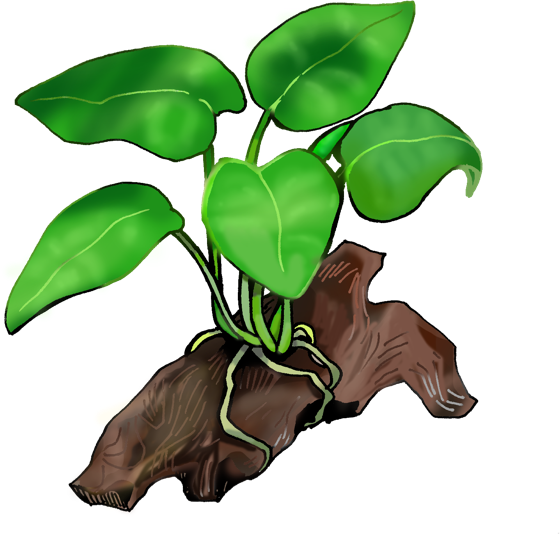
The convex layout is the mirror image: the mass peaks in the center and falls away toward both edges. It is beautiful, and it is the one you see least often, because it is the hardest to keep looking right. The central peak only reads as a peak if it stays sharply defined, which means frequent, disciplined trimming, and any equipment sitting near the middle has to be hidden or the whole silhouette falls apart. A convex tank that looks effortless is almost always a tank someone is putting real hours into.
If you want a mental picture of why the shape is so compelling, think of Mount Fuji. That single, clean convex rise is one of the most instantly recognizable profiles in the world, and it is doing exactly what a convex aquascape tries to do: hold your eye at one commanding center.
The Concave Composition
This is the one we steer most people toward. In a concave layout you plant tall stems up both ends of the tank and let the middle dip into a valley. It packs in more density than a triangle without demanding the constant upkeep a convex peak needs, which is why it hits the sweet spot for most home tanks.
Two things make a concave layout work:
- Height contrast. Give the two ends and the center clearly different heights. A shallow, mushy dip reads as an accident; a decisive valley reads as a design.
- Asymmetry. Do not balance the two sides evenly. Aim for roughly 6:4 — the golden ratio, 1.618:1 — with one end carrying more volume than the other.
Building up volume at the ends is also what creates the sense of a scene receding into the distance. But resist the urge to make it a perfect mirror. Strict symmetry kills the natural feel; the slight 6:4 imbalance is what lets the eye relax and read the tank as a landscape rather than a diagram.
The Golden Ratio, and Why Photographers Are Good at This
The 6:4 rule is not arbitrary. It is a rounding of the golden ratio, the proportion (about 1.618:1) that shows up again and again in things people find beautiful: the veins of a leaf, the geometry of a five-pointed star, the framing of paintings and photographs. Western artists know the same idea under related names, the rule of thirds and the placement of a subject on a golden section point rather than dead center.
Here is a tell we have noticed over the years: people who are good at photography are usually good at aquascaping, and for the same reason. Both are the art of deciding where the eye should land. Both reward putting your focal point off-center, on a third-line, instead of stranding it in the middle. If you already have a photographer's instinct for composition, you have most of what you need to lay out a tank.
One practical note: the tank sizes whose proportions land closest to the golden ratio are the shorter, standard formats. A tank around 18 inches (45 cm) or a standard 24-inch (60 cm) tank both frame a composition gracefully, which is one reason they remain workhorse sizes for planted layouts.
Getting the Color Right
Once the composition is settled, the next decision is color. In a planted tank you are really working with two palettes:
- Green-on-green. A layout built entirely from shades of green, using light and dark to create contrast.
- Green with red accents. A green base with red-leaved plants worked in for drama.
On top of the plants, the color of your hardscape acts as the accent that pulls a soft, leafy scene together. A hard, edged piece of dark driftwood set against mounded green plants tightens the whole layout. Driftwood alone comes in pale, brown, dark brown, and near-black; stones range from sandstone to lava rock to petrified wood, plus tinted specialty pieces in white, gray, brown, red-brown, blue-gray, and yellow. Decide up front which color you want to feature. Speaking personally, I like pairing bright green plants with dark brown driftwood, since the contrast reads clean and keeps the scene from going muddy.
Working in Green Alone
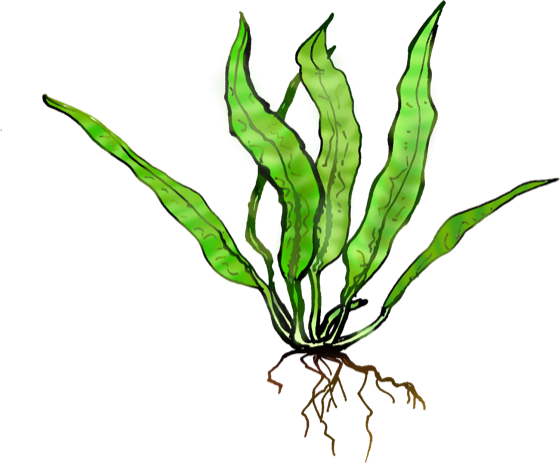
People underrate an all-green tank. Spend time looking at plants and you start to see that "green" is many colors: there is bright, yellow-toned green and there is deep, shadowy green in the same tank. Java moss, for instance, is a dark, deep green, while Hygrophila polysperma is a bright, almost chartreuse green. Place plants with clearly different green tones next to each other, dark on the left and bright on the right, and you build a rich, layered scene without ever touching a red plant. Since many red species are also the harder ones to grow, a thoughtful green-only layout is often the smarter first project.
Adding Red

Red-leaved plants are the accent, not the base. Worked in carefully, a red stem like Alternanthera reineckii lifts a green layout into something vivid. Overdone, red throws the whole color balance off, and even professional aquarists watch their red carefully. The working rule we use:
Choosing Stone and Driftwood
Hardscape is what gives a planting its bones. There is a wide world to choose from: familiar aquascaping stones and river rock you can collect yourself, plus driftwood from pale branchy wood to brown mangrove types to near-black pieces. Most tanks use more than one piece of stone or wood, and that is where the single most important rule comes in.
When you combine multiple pieces, keep them the same type and color. Use stones of one kind and one color, and driftwood of one kind and one color. Mixing types reads as clutter; matching them creates the unity that makes a hardscape look intentional and tight. Then, within that matched set, vary the sizes. Uniform sizing looks static; a range of large and small pieces builds three-dimensional depth and a more natural scene.
An Easy Way to Fake Depth
How much depth an aquarium seems to have changes with your eye level. Set a tank at eye height and you flatten it; the scene loses its sense of receding space. Professional aquarists have a simple fix that costs nothing but a few extra minutes at setup: slope the substrate.
Keep the front low and build the substrate up toward the back. That single front-to-back slope makes a tank read as deeper than it is, and it is one of the highest-return tricks in the hobby. Beyond the basic grade, you can shape the bed in a few ways:
- Front low, back high, a smooth even slope.
- A slope with a concave dip carved down the center.
- An uneven, rolling grade like low hills.
These are the standard approaches; inventing your own contour is part of the fun.
Hide the Equipment
Every working aquarium needs hardware: filter intake and return pipes, a heater, maybe a CO2 diffuser. And nothing breaks the illusion of a natural scene faster than a black heater cord running up the glass. The single biggest visual upgrade most tanks can make is not a better plant. It is hiding the equipment.
Keepers with a real eye for layout know this instinctively. Tuck the heater and the filter strainer behind planting or hardscape in a back corner, and the same tank looks dramatically better with no change to the livestock at all. It is worth planning your composition partly around where the equipment will go, so the plants that hide it are part of the design from the start.
A note for anyone dreaming of competition someday: in the layout contests run by ADA (Aqua Design Amano, the Japanese company that started the whole Nature Aquarium movement) and others, the equipment is not merely hidden. It is physically removed from the tank before the photo is taken, and any visible pipe or heater in the shot is a scoring penalty. You do not need to go that far for a home tank, but it tells you how seriously this tradition takes the clean scene.
Rules First, Then Your Own Voice
Everything above is the foundation, and the foundation is worth mastering. But the point of learning the rules is eventually to bend them with intent. A layout that follows every convention perfectly can still feel like a diagram; the tanks that stay with you are usually the ones where someone knew the rules cold and then made a deliberate choice to break one.
Two things reliably feed that instinct. First, look at real landscapes. Walk a riverbank and you will see how water actually arranges driftwood and stone, how rocks of different sizes settle together, how plants grow in unforced clumps rather than tidy rows. Nature is the original aquascaper, and it is free to study. Second, consider the Japanese idea of wabi-sabi (わび・さび), the beauty found in restraint, imperfection, and empty space rather than in showy abundance. A tank does not have to fill every inch. Leaving space, letting a scene feel a little spare, is itself a compositional choice, and often a more sophisticated one. As Takashi Amano, the founder of ADA, put it: creating nature is the ultimate luxury.
And if your taste runs the other way, toward bright, playful, ornament-forward layouts with colorful decorations up front, that is a legitimate genre too. Artificial pieces let you build a world and a story fast. Just check that anything you add is aquarium-safe: no flaking paint, no materials that leach chemicals into the water. Within that limit, the combinations are effectively endless.
FAQ
- Q. Which composition should a beginner start with?
- A. The triangle is the easiest to build, so it is a fine first project. But if you want the most reliably good-looking result for the effort, start with the concave layout: tall plants at both ends, a valley in the middle, sides balanced at roughly 6:4. It is forgiving and it looks professional.
- Q. What is the fastest way to make a tank look deeper?
- A. Slope the substrate. Keep it low at the front and build it up toward the back. That front-to-back grade tricks the eye into reading more depth, and it costs nothing to do at setup. Adding foreground, midground, and background plants on top of the slope layers the effect further.
- Q. How much red should I use in a planted tank?
- A. Around 30% of the total planting at most. Green is the base; red is the accent. Beyond about a third, the color balance tips and the tank looks busy rather than striking. Place your red at the focal point, and choose an easy red species to start, since many are demanding to grow.
- Q. My driftwood keeps floating. What do I do?
- A. Fresh or under-soaked driftwood traps air and floats. Boil it or soak it submerged for days to a couple of weeks until it waterlogs. Some wood types float more stubbornly than others; if a piece will not sink, wedge or weight it down with stone until it settles.